


To remove ceramic coating safely, wash and decontaminate the surface before testing a small area. A worn coating may respond to a dedicated coating remover, but a fully cured professional coating normally requires controlled polishing. Use a dedicated glass polish on windows and windshields. Avoid abrasive polishing on textured plastic, matte paint and sensitive wheel finishes.
The correct method depends on the coating, its condition and the surface underneath it. Starting with an aggressive compound or strong solvent can damage the clear coat without confirming whether the ceramic coating needed removal in the first place.
Before beginning, it helps to understand What Is Ceramic Coating and how it differs from waxes, spray sealants and short-term ceramic detailers.
Quick Answer: What Is the Best Way to Remove Ceramic Coating?
For most clear-coated car paint, the safest process follows this order:
- Identify the coating and why it needs removal.
- Wash the vehicle thoroughly.
- Remove iron particles, tar and bonded contamination.
- Test a dedicated coating remover if the manufacturer permits it.
- Clay the surface only when bonded contamination remains.
- Machine-polish a small test section using the least aggressive pad and polish that works.
- Inspect the surface under strong lighting.
- Remove polishing oils with a proper panel-preparation product.
- Reapply protection after confirming that the surface is clean and uniform.
Chemical products can weaken old coatings, sealants and factory protection. However, some professional coatings remain resistant to chemical stripping and require mechanical abrasion. Always follow the instructions for the specific coating instead of assuming that one method works for every product.
Do You Actually Need to Remove the Ceramic Coating?
Poor water beading does not automatically mean the coating has failed.
Road film, mineral deposits, iron fallout, winter salt residue, traffic pollution and old maintenance products can cover the coating and change how water behaves. A thorough decontamination wash may restore its performance without removing it.
One coating manufacturer explains that accumulated contamination commonly blocks hydrophobic behaviour and recommends chemical decontamination before deciding that the coating has failed.
Consider removing the coating when:
- The installer left cured high spots, streaks or dark patches.
- The coating has worn unevenly across the vehicle.
- You need paint correction for scratches, oxidation or swirl marks.
- A body shop must repaint or blend a repaired panel.
- You want to apply an incompatible coating system.
- A windshield coating causes persistent smearing or wiper judder.
- A trim or wheel coating has developed an uneven appearance.
- The manufacturer requires full preparation before recoating.
Do not remove an otherwise healthy coating simply because the vehicle looks dirty or water no longer beads as strongly as it once did.
For additional context on coating life cycles and wear, read How Long Does Ceramic Coating Last.
Ceramic Coating Removal Methods Compared
| Method | What it can do | Best application | Main limitation |
|---|---|---|---|
| Thorough washing | Removes loose dirt and road film | Diagnosing apparent coating failure | Does not remove a healthy cured coating |
| Chemical decontamination | Removes iron, tar and mineral contamination | Restoring a clogged coating | May reveal that the coating is still active |
| Dedicated coating remover | Degrades some old coatings and sealants | Worn consumer coatings and compatible paint finishes | May not completely remove a durable professional coating |
| Clay treatment | Removes bonded surface contamination | Preparing contaminated paint before polishing | Can mar paint and cannot confirm complete removal |
| Machine polishing | Mechanically removes coating and corrects light defects | Clear-coated paint and local repairs | Also removes a small amount of clear coat |
| Glass polishing | Removes glass coatings and bonded contamination | Windshields and automotive glass | Requires glass-specific products and controlled technique |
| Wet sanding | Removes severe high spots or prepares panels for refinishing | Professional body-shop work | High risk of permanent clear-coat damage |
The safest principle is simple: start with the least aggressive method and increase the correction level only when inspection shows that it is necessary.
Tools and Products You May Need
The exact equipment depends on the surface and coating, but a typical paint-removal process may require:
- Automotive shampoo
- Two wash buckets with grit guards
- Clean wash mitts
- Iron-removal product
- Tar or sap remover
- Dedicated coating remover, when compatible
- Clay bar or synthetic clay media
- Clay lubricant
- Dual-action polisher
- Finishing and light-cut polishing pads
- Finishing polish or medium-cut compound
- Panel-preparation cleaner
- Inspection light
- Multiple clean microfibre towels
- Masking tape
- Nitrile gloves and eye protection
- Paint-depth gauge for professional or advanced work
Do not use dirty pads or towels. Contamination trapped in polishing equipment can introduce new scratches while you are trying to correct the finish.
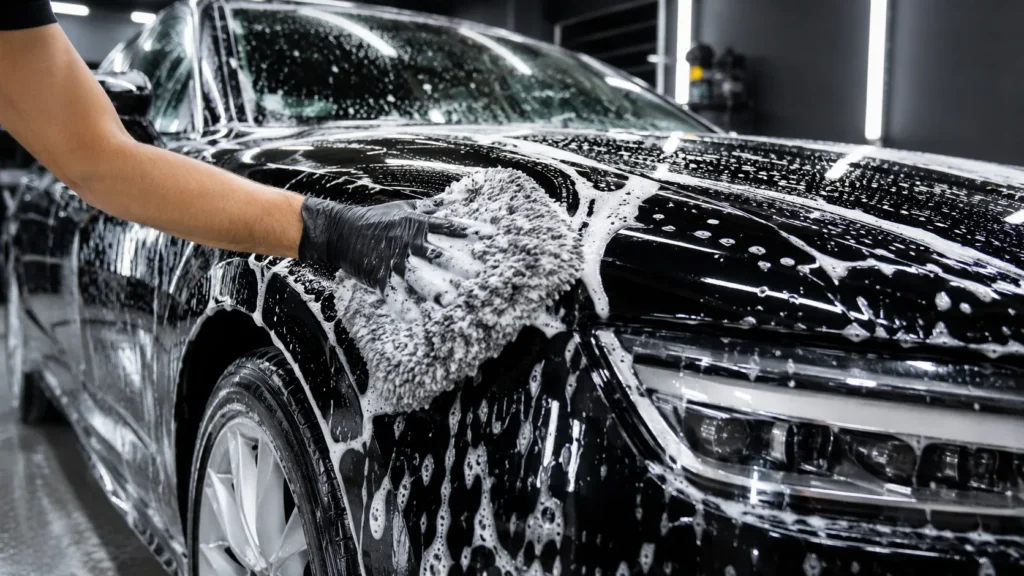
How to Remove Ceramic Coating from Car Paint
1. Identify the Existing Coating
Determine:
- The coating brand and product
- Whether a professional or vehicle owner applied it
- The application date
- Whether it has a separate topcoat
- Which surfaces received protection
- Whether a warranty or maintenance plan remains active
This information matters because removal instructions differ. Some manufacturers offer chemical products that degrade old coatings, while others state that their cured coatings require abrasion.
Ask the original installer for the application record whenever possible. Removing or polishing the coating may affect the warranty.
2. Work on a Cool, Clean Surface
Park indoors or in full shade. Let the paint cool before applying cleaners, clay lubricant or polish.
Heat can cause products to dry too quickly, leave residue or become more aggressive than intended. Good lighting also makes coating high spots, haze and polishing marks easier to detect.
Mask delicate edges, textured trim, badges and adjoining surfaces before polishing.
3. Wash the Vehicle Thoroughly
Pre-rinse the vehicle to remove loose grit. Apply an automotive pre-wash or foam, rinse again and complete a careful contact wash.
Use clean wash media and work from the cleaner upper panels towards the dirtier lower sections. Do not scrub heavily in an attempt to strip the coating.
After washing, observe the surface but do not treat water beading as conclusive proof. A maintenance spray or sealant can create water behaviour even when the original coating has deteriorated. Contamination can also hide the behaviour of a coating that remains intact.
4. Decontaminate the Paint
Use surface-appropriate products to remove:
- Iron fallout
- Tar
- Road film
- Mineral deposits
- Tree sap residue
- Old wax or sealant layers
Follow each product’s dwell-time and temperature instructions. Never let a decontamination chemical dry on the paint.
After decontamination, wash and inspect the vehicle again. You may discover that the coating was contaminated rather than worn out.
5. Test a Dedicated Coating Remover
A purpose-built coating remover can degrade some old ceramic protection without immediately requiring aggressive polishing. One current manufacturer product, for example, is designed to weaken old coatings, sealants and factory protection while remaining suitable for painted and matte surfaces when used correctly.
Test the product on a small, inconspicuous area first. Follow the manufacturer’s dilution, agitation and dwell-time instructions exactly.
Do not replace a dedicated product with:
- Brake cleaner
- Paint thinner
- Household degreaser
- Oven cleaner
- Undiluted alkaline cleaner
- Acetone or other strong solvents
These chemicals can stain trim, soften paint, affect refinished panels or create an unsafe working environment.
6. Clay Only When Necessary
Clay removes bonded particles that washing and chemical cleaners leave behind. It can also abrade a weak or deteriorated coating, but it does not reliably remove every cured ceramic layer.
Use generous lubrication and light pressure. Stop if the clay begins dragging or if you notice marring.
Because clay can introduce fine marks, plan to polish the paint afterwards when the finish requires correction.
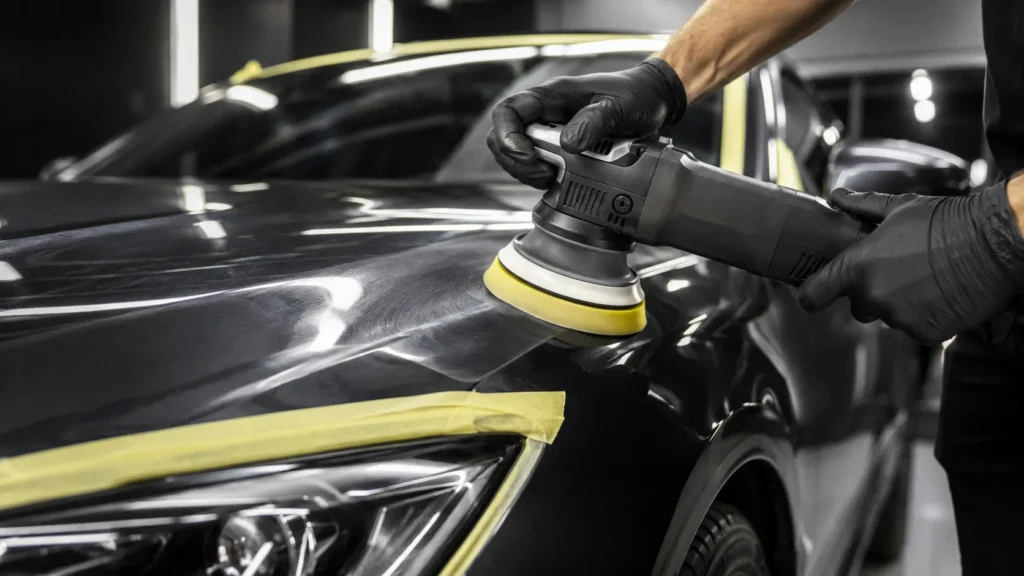
7. Perform a Small Polishing Test
Machine polishing remains the most predictable way to remove a cured coating from clear-coated paint.
Start with:
- A dual-action polisher
- A soft or medium foam pad
- A finishing or light-cut polish
- A small test section
Complete a controlled set of passes and inspect the result. Increase the pad or compound aggressiveness only if the first combination does not remove the coating or correct the underlying defects.
Do not begin with a heavy-cut compound simply to save time. Every abrasive polishing process removes some material from the surface. Modern clear coat can be thin in certain areas, particularly near edges and raised body lines, so technicians must control sanding and polishing carefully.
A paint-depth gauge can improve decision-making, but it does not separate the clear coat from the colour and primer layers. Treat its readings as comparative information rather than a guarantee of polishing safety.
8. Inspect the Paint Properly
After polishing, wipe the test area with a dedicated panel-preparation product. This removes polishing oils, fillers and residue that can temporarily hide defects or alter surface behaviour.
Panel-preparation products remove oils and old wax residue; they should not be treated as universal removers for fully cured ceramic coatings.
Inspect the surface using:
- A bright, colour-accurate inspection light
- Multiple viewing angles
- Consistent gloss across adjoining areas
- Uniform surface behaviour after cleaning
- The absence of high spots, streaks or haze
Water behaviour can support your inspection, but it should not be the only test.
9. Complete the Remaining Panels
Once the test section confirms the correct pad, polish and number of passes, use the same controlled process on the remaining painted panels.
Clean or replace polishing pads frequently. A saturated pad cuts inconsistently, generates additional heat and can leave residue behind.
Use extra caution around:
- Panel edges
- Raised styling lines
- Door-handle recesses
- Bumpers
- Repainted panels
- Thin or previously corrected paint
10. Prepare and Protect the Paint
After removing the coating:
- Inspect for remaining defects.
- Refine the finish with a lighter polish if necessary.
- Remove polishing oils.
- Confirm that the surface is clean and residue-free.
- Apply wax, sealant or a new coating according to its instructions.
Do not leave freshly polished paint unprotected for longer than necessary, particularly during Canadian winter conditions when moisture, road salt and traffic film can quickly contaminate exposed surfaces.
How to Remove Ceramic Coating from Glass
Ceramic glass coatings require a different process from automotive paint.
For side windows and rear glass:
- Wash and clean the glass.
- Remove mineral deposits and bonded contamination.
- Apply a dedicated automotive glass polish.
- Work it with a glass polishing pad or suitable hand applicator.
- Clean the glass and inspect its water behaviour.
- Repeat if required.
A coating manufacturer recommends removing its windshield coating with a machine polisher, hard foam pad and dedicated glass polish, or by hand with a cerium-oxide-based glass polish.
Do not use ordinary paint compound as the default choice. Glass and automotive clear coat respond differently to abrasives.
How to Remove Ceramic Coating from a Windshield
Windshield removal requires additional care because poor polishing can affect driver visibility.
Before polishing:
- Clean the windshield and wiper blades.
- Mask painted roof edges, rubber seals and plastic cowl panels.
- Confirm that the problem comes from the coating rather than worn wiper blades or oily traffic film.
- Test a small corner before treating the entire windshield.
Use a dedicated glass polish and follow its operating instructions. Keep the pad flat and avoid concentrating heat in one spot.
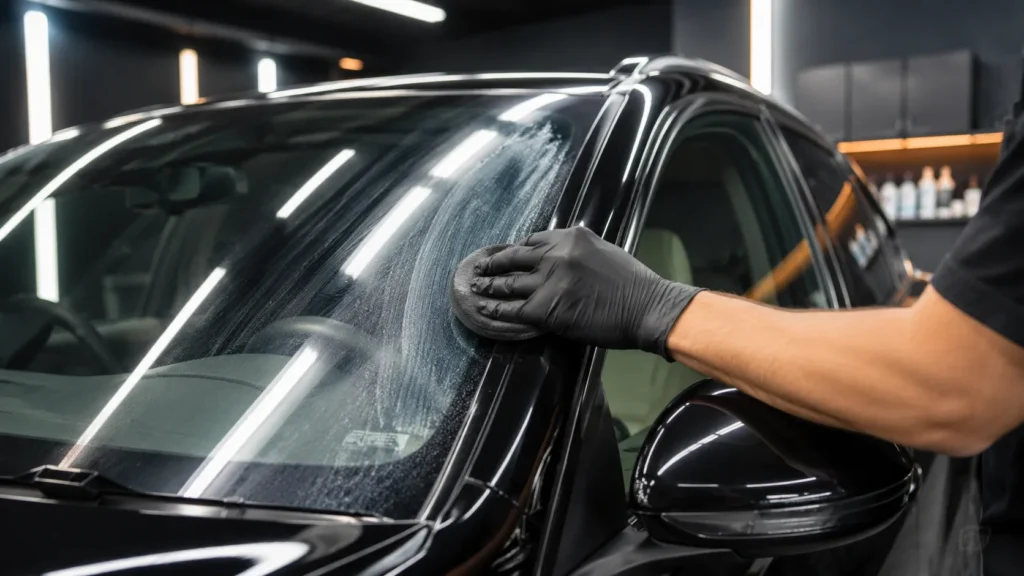
After removal, clean the glass thoroughly and test it in dry and wet conditions before applying another windshield coating.
Do not use steel wool, razor blades or household scouring products as general coating-removal tools. They can scratch glass, damage surrounding trim or create inconsistent visibility.
How to Remove Ceramic Coating from Plastic Trim
First identify the trim type.
Painted or Gloss-Black Plastic
Painted plastic often has a clear-coated surface, so a very mild paint-polishing process may work. However, plastic panels dissipate heat differently from metal panels.
Use:
- A small polishing pad
- Low pressure
- Short working cycles
- Frequent temperature checks
- The least aggressive polish that produces a result
Gloss-black pillars and piano-black trim scratch easily. Hand polishing or a small machine may offer better control.
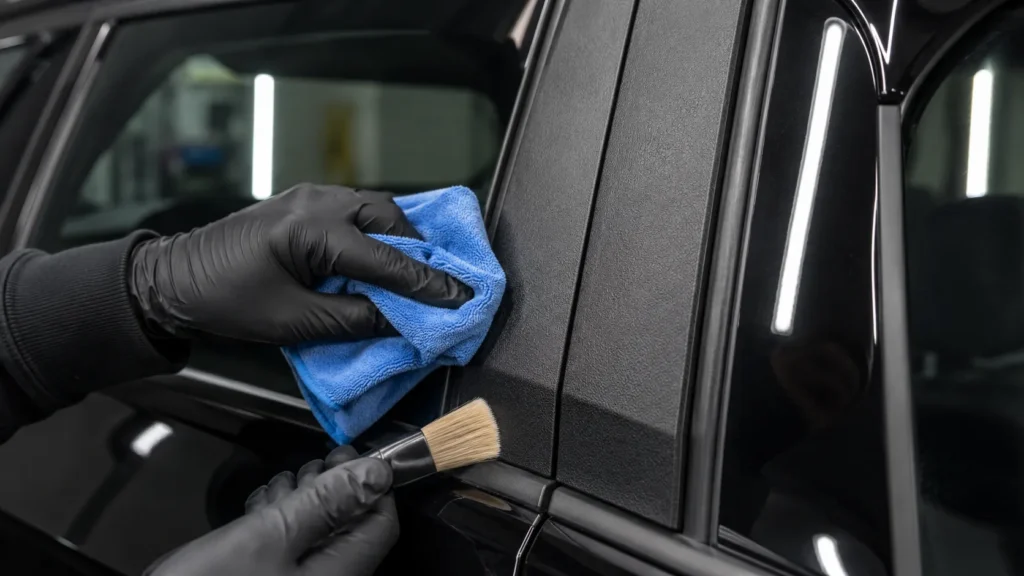
Textured or Unpainted Plastic
Do not machine-polish textured plastic trim. Abrasion can permanently change its colour and texture.
Instead:
- Wash the trim.
- Remove old dressings and contamination.
- Test a manufacturer-approved coating remover.
- Agitate gently with a trim-safe brush or microfibre towel.
- Rinse and inspect.
- Consult a professional if cured high spots or staining remain.
Some ceramic coatings penetrate or bond unevenly with porous trim. Complete visual restoration may require professional correction or trim replacement rather than repeated chemical scrubbing.
How to Remove Ceramic Coating from Wheels
The correct process depends on the wheel finish.
Clear-Coated or Painted Wheels
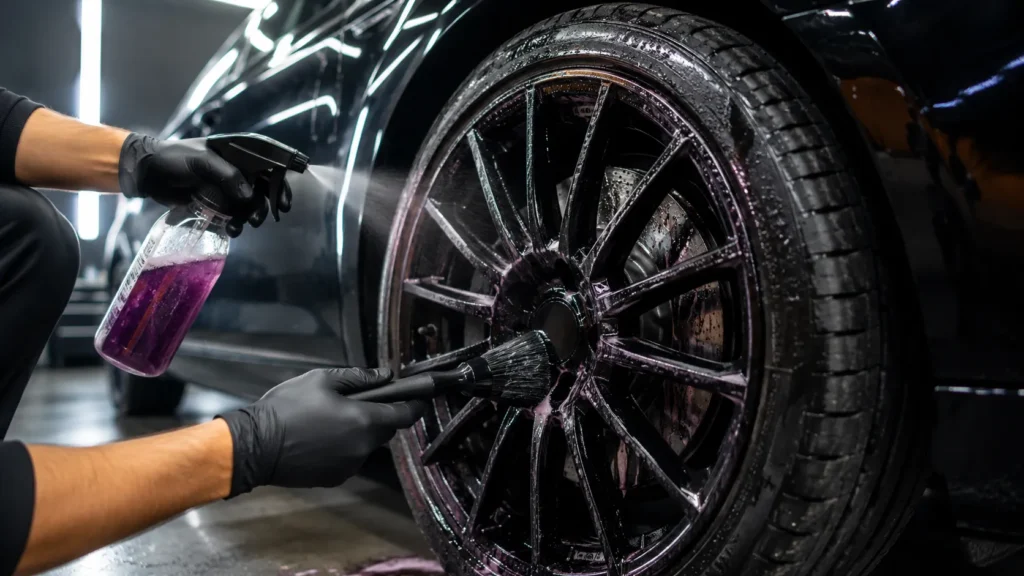
Use a wheel-safe wash, iron remover and tar remover before testing a mild polish. Treat the finish similarly to clear-coated paint, but work carefully around edges, spoke openings and lettering.
Polished Metal Wheels
Use a polish specifically intended for the metal. A paint polish may not produce the correct finish.
Matte, Satin, Anodized or Special-Finish Wheels
Do not polish these surfaces unless the wheel or coating manufacturer specifically approves it. Abrasion may create permanent glossy patches or alter the finish.
When requesting professional service, confirm whether the quote includes:
- Wheel faces only
- Inner barrels
- Brake calipers
- Centre caps
- Removal of the wheels from the vehicle
- Reapplication of wheel coating
How to Remove Nano Ceramic Coating
“Nano ceramic coating” normally describes the same general category of bonded surface protection. The word “nano” does not create a separate universal removal method.
Use the same decision process:
- Identify the exact product.
- Clean and decontaminate the surface.
- Test a compatible chemical remover.
- Polish clear-coated paint when the cured coating remains.
- Use surface-specific products on glass, trim and wheels.
Avoid making removal decisions based only on marketing terms such as 9H, graphene, quartz, glass or nano coating. The product instructions and actual surface condition matter more than the label.
Can You Remove Ceramic Coating Without Polishing?
Sometimes, but not reliably in every case.
Chemical removal may work when:
- The coating is old or heavily deteriorated.
- The product is a short-term ceramic sealant rather than a durable coating.
- The coating manufacturer provides a compatible remover.
- The surface cannot be polished, such as matte paint.
- You only need to weaken old protection before applying a compatible system.
Polishing is usually necessary when:
- A professional coating remains fully cured and chemically resistant.
- The surface has cured high spots.
- Paint correction is required.
- The vehicle needs repainting or panel blending.
- Chemical removal produces uneven results.
Some manufacturers now offer products that chemically degrade old coatings, while other professional systems still specify abrasion as the removal method. Product-specific instructions must take priority.
How to Remove Light Scratches from Ceramic Coating
First determine whether the mark sits in:
- Surface contamination
- A maintenance topper
- The ceramic coating
- The clear coat
- The colour coat beneath it
Wash and chemically decontaminate the area before polishing. What looks like a scratch may be paint transfer, mineral residue or material sitting on top of the coating.
If polishing is necessary, expect it to remove the coating from the corrected area. After correction, clean the panel and reapply compatible protection.
Seek professional assessment when:
- The scratch catches strongly on a fingernail.
- You can see primer, metal or plastic.
- The area has already received several paint corrections.
- The scratch crosses an edge or sharp body line.
- The panel has non-factory paint.
- You cannot identify the coating.
A ceramic coating can reduce minor wash-related marring, but it cannot prevent every scratch or eliminate damage that reaches the clear coat.
How to Remove Dust from a Ceramic-Coated Car
Do not wipe dry dust from the paint with a towel or duster. Dust may contain hard particles that create fine scratches when dragged across the surface.
For light loose dust:
- Rinse the vehicle thoroughly.
- Use filtered air or a vehicle-safe blower where appropriate.
- Complete a proper wash when visible residue remains.
- Dry with a clean, soft microfibre towel and minimal pressure.
For heavier dust:
- Use a pre-wash or foam.
- Rinse before making contact.
- Use clean wash media.
- Wash in straight, controlled passes.
- Rinse the mitt frequently.
A ceramic coating makes cleaning easier, but it does not make dry wiping safe.
How to Remove Tree Sap from a Ceramic-Coated Car
Remove tree sap promptly, but do not scrape it.
Use this process:
- Move the vehicle into shade and let the panel cool.
- Wash away surrounding dirt.
- Hold a warm, damp microfibre towel over the sap to soften it.
- Apply a coating-safe automotive sap or tar remover to the towel.
- Test the product on an inconspicuous area.
- Let the product work according to its instructions.
- Wipe gently without grinding the sap into the finish.
- Rinse and wash the treated area.
A synthetic decontamination product or clay may remove remaining surface residue, but it can also mar the paint.
If the sap has etched the coating or clear coat, the area may require polishing. Polishing will normally remove or weaken the coating locally, so reapplication may be necessary.
Methods You Should Not Rely On
Dish Soap
Dish soap may reduce waxes, oily toppers and some sealants, but it does not reliably remove a fully cured ceramic coating. It also lacks the lubrication and residue-control properties expected from an automotive wash product.
Isopropyl Alcohol Alone
An alcohol-based panel wipe helps remove polishing oils, silicones and residues. It does not universally dissolve a durable cured coating.
Clay Alone
Clay can abrade a deteriorated coating and remove bonded contamination, but it does not guarantee complete removal.
Pressure Washing
A pressure washer can remove loose contamination but should not remove a properly bonded coating. Excessive pressure can damage paint chips, seals, badges or compromised refinishing work.
Automatic Car Washes
Repeated brush washing may degrade protection and create scratches, but it offers no controlled or paint-safe coating-removal process.
Strong Degreasers and Solvents
Brake cleaner, paint thinner, acetone and aggressive household chemicals can create unnecessary risks. A product that attacks the coating may also affect paint, trim, rubber or refinished panels.
Wet Sanding
Wet sanding belongs in advanced correction and collision-repair work. It removes material quickly and can cut through the clear coat.
A professional coating manufacturer describes sanding into the clear coat as part of its body-shop preparation process. That instruction should not be treated as a general homeowner removal method.
DIY vs Professional Ceramic Coating Removal
| Factor | DIY removal | Professional removal |
| Initial cost | Lower when you already own polishing equipment | Higher labour cost |
| Control | You can work at your own pace | Technician selects the process after inspection |
| Risk | Higher without polishing experience | Lower when performed by an experienced paint-correction specialist |
| Paint measurements | Often unavailable | More likely to include paint-depth readings |
| Complex surfaces | Difficult on trim, wheels, edges and repainted panels | Better access to specialised tools and products |
| Final finish | Depends heavily on technique | Can include multi-stage correction and refinishing |
| Recoating | Requires separate preparation and application | Often available as one coordinated service |
What Does Professional Removal Cost in Canada?
Most Canadian detailers price coating removal according to the paint-correction work required rather than listing one universal removal fee.
The quote normally depends on:
- Vehicle size
- Coating hardness and condition
- Number of coated surfaces
- Paint defects
- Previous polishing history
- One-step or multi-step correction
- Glass, trim and wheel treatment
- Reapplication of protection
As a current Ontario benchmark, some providers list one-step correction from approximately CAD $290 to $350 and two-step correction from approximately CAD $500 to $560, before adding a new coating. Prices vary by vehicle, location and finish condition, so obtain an inspection-based quote.
Questions to Ask a Professional Detailer
Before booking ceramic coating removal, ask:
- Can you identify the coating before starting?
- Will you perform a small test section?
- Do you measure paint thickness?
- Will the process remove defects or only the coating?
- Does the quote include decontamination?
- Are glass, wheels and plastic trim included?
- How will you handle repainted or thin areas?
- Will you polish panel edges by hand?
- What protection will you apply afterwards?
- Does removal affect the existing coating warranty?
- Will you provide before-and-after inspection photos?
- How should I maintain the vehicle after recoating?
Avoid selecting a service based only on the lowest price. Clear-coat preservation matters more than achieving the strongest possible cutting action.
Common Ceramic Coating Removal Misconceptions
“No Water Beading Means the Coating Is Gone”
False. Contamination can block hydrophobic behaviour while the coating remains underneath. Decontaminate and retest before removing anything.
“A Strong Degreaser Is Safer Than Polishing”
Not necessarily. An uncontrolled chemical can affect the coating, paint, trim and refinished surfaces. Use a purpose-built product and follow its instructions.
“Every Coating Must Be Sanded Off”
False. Many coatings can be removed with controlled machine polishing. Sanding is normally reserved for severe defects or body-shop refinishing.
“Polishing Removes Only the Coating”
False. Abrasive polishing can remove the coating and a small amount of the underlying clear coat. Use the least aggressive combination that works.
“Ceramic Coating Prevents All Scratches”
False. It can support easier cleaning and reduce some light surface marring, but it does not replace paint protection film or prevent deeper impact damage.
“You Must Remove Every Trace Before Recoating”
This depends on the coating system, paint condition and manufacturer’s instructions. A contaminated or damaged finish normally requires full preparation, while some compatible systems allow maintenance or reapplication after prescribed cleaning and polishing.
Maintenance After Removal or Recoating
After applying new protection:
- Follow the manufacturer’s curing instructions.
- Keep the vehicle dry for the required initial period.
- Avoid washing during the stated curing window.
- Use automotive shampoos and clean wash media.
- Remove bird droppings, sap and road salt promptly.
- Avoid dry dusting.
- Use compatible maintenance products.
- Inspect high-exposure areas such as the hood, roof, lower doors and rear bumper.
- Schedule decontamination when water behaviour becomes inconsistent.
- Do not apply random waxes or sealants without checking compatibility.
Canadian vehicles often collect heavy contamination during winter. Give extra attention to rocker panels, lower doors, wheel arches and the rear of the vehicle after periods of road-salt exposure.
Before choosing another coating, review Is Ceramic Coating Worth It based on your driving habits, storage conditions and maintenance expectations.
Conclusion
Learning how to remove ceramic coating begins with identifying what is actually on the vehicle and whether removal is necessary. A careful wash and decontamination may restore a coating that appears to have failed. When complete removal is required, controlled polishing offers the most predictable method for clear-coated paint, while glass, textured trim, matte finishes and wheels require surface-specific techniques.
Start with the least aggressive process, test a small area and protect the clear coat rather than focusing only on removing the coating quickly. When the product remains unknown, the paint has already received correction, or multiple surfaces require treatment, professional removal is the safer choice.
Frequently Asked Questions
What is the safest way to remove ceramic coating from car paint?
Wash and decontaminate the paint first. Test a compatible coating remover, then use controlled machine polishing if the cured coating remains. Begin with a mild pad and polish rather than an aggressive compound.
Can you remove ceramic coating by hand?
You may remove a weak coating or correct a small area by hand, but full removal from an entire vehicle normally produces more consistent results with a dual-action polisher. Hand polishing can become uneven and time-consuming.
Will vinegar remove ceramic coating?
Vinegar may help with certain mineral deposits when appropriately diluted and approved for the surface, but it does not reliably remove a fully cured ceramic coating. Use an automotive water-spot product or coating-removal process instead.
Does clay bar remove ceramic coating?
Clay can weaken an old coating and remove bonded contamination, but it cannot reliably confirm complete removal. It may also introduce light marring that requires polishing.
Can I remove ceramic coating with rubbing compound?
A suitable automotive compound can mechanically remove coating, but start with a less aggressive polish and test section. Heavy compound may remove more clear coat than necessary.
How do I know when the ceramic coating is completely removed?
Look for a uniform finish after decontamination, polishing and panel preparation. Check multiple panels under strong lighting and compare surface behaviour. Do not rely on water beading alone.
Can I apply a new ceramic coating over the old one?
Some compatible systems permit reapplication after prescribed preparation. However, an uneven, contaminated or failing coating can interfere with consistent results. Follow the new coating manufacturer’s instructions.
How long does ceramic coating removal take?
Timing depends on the vehicle size, coating hardness, contamination and required paint correction. A small spot repair may require limited work, while complete decontamination and polishing of an entire vehicle can take several hours or longer.
Will ceramic coating removal damage the paint?
Proper removal should preserve the paint’s appearance, but abrasive polishing always carries some risk. Excessive pressure, heat, aggressive pads or repeated correction can reduce the clear coat.
How do you remove ceramic coating from a windshield?
Clean the glass, then polish it with a dedicated automotive glass polish using a suitable pad or hand applicator. Certain manufacturers recommend cerium-oxide-based glass polish for removing durable windshield coatings.
Can you polish scratches without removing the entire coating?
Yes. A detailer can correct a localized area, but polishing normally removes the coating from that spot. The corrected section or full panel may need recoating for consistent protection.
How do you remove ceramic coating from matte paint?
Do not polish matte paint. Use only a coating remover approved for matte finishes or consult a specialist. Abrasive correction can create permanent glossy areas.
Can ceramic coating be removed from paint protection film?
Possibly, but do not treat PPF like painted clear coat. Aggressive polishing, heat or solvents can damage the film and its topcoat. Contact the film or coating installer for a compatible process.
Does isopropyl alcohol remove ceramic coating?
Isopropyl alcohol can remove oils, polishing residue and certain uncured products, but it does not reliably remove every cured ceramic coating.
Should an old five-year coating always be removed?
Not automatically. Wash, decontaminate and inspect the paint first. The coating may already be substantially worn, or contamination may simply be masking its performance. Base the decision on surface condition and the preparation required for the next protection system.