

Car detailing is a step-by-step deep clean and reconditioning process that goes beyond a quick wash. It targets the tiny stuff that makes a car look “tired” (road film, bonded contaminants, light swirls, interior grime) and finishes with protection to keep the results lasting.
At a glance: the best order to detail a car
Recommended detailing order (fast + safe):
- Park in the shade and let the panels cool
- Clean wheels/tires first
- Pre-rinse (or foam) to remove loose grit
- Hand washes with two buckets + grit guard.
- Rinse and dry with microfiber.
- Decontaminate paint (chemical + clay, as needed)
- Polish (optional) to reduce swirls
- Protect (wax/sealant/coating)
- Finish trim + glass
- Interior: vacuum → surfaces → fabric/leather → glass → odor control
Why shade matters: heat speeds up drying, increases water spotting risk, and can make products “bake on.”
What you’ll need (tools + products that actually matter)
You don’t need 30 bottles. You need the right categories:
Exterior essentials
- pH-balanced car wash soap (not dish soap)
- 2 buckets + grit guards
- Microfiber wash mitt (avoid sponges)
- Wheel brush + tire brush
- Microfiber drying towels (waffle-weave helps)
- Paint-safe quick detailer or drying aid (optional, but helpful)
Dish soap strips wax and can damage the finish; a dedicated car wash is formulated to clean the automotive clear coat safely.
Decon + protection (add if you want “wow” results)
- Iron remover (optional)
- Tar/bug remover (optional)
- Clay bar + clay lubricant
- Wax or paint sealant (or ceramic coating)
A clay bar removes “bonded contaminants” that a normal wash won’t touch and helps restore a smooth surface.
Interior essentials
- Vacuum with crevice tool + soft brush attachment
- Microfiber towels
- Interior cleaner (ideally material-safe)
- Glass cleaner + dedicated glass towel
- Fabric cleaner (or extractor/spot cleaner) or leather cleaner + conditioner (based on your seats)
Pro tip: Interior products should match the material (don’t use vinyl cleaner on leather and vice versa).
Step 1: Prep like a detailer (this is where results start)
Do this first:
- Choose a cool, shaded spot.
- Work top-down
- Keep towels and mitts clean (dirt in your towel = scratches)
Why you should care: the clear coat is thin, and it’s easier to scratch than most people realize. One Edmunds piece uses a simple comparison: a Post-it note is ~3 mil thick, and an average clear coat is ~2 mil—so gentle technique isn’t optional.
Step 2: Wheels & tires (always first)
Wheels carry heavy contamination (brake dust, road film). If you wash paint first, you risk splashing grime back onto clean panels.
Process:
- Rinse wheel + tire
- Apply wheel cleaner (as needed)
- Agitate: wheel face, barrels, lug areas
- Scrub tires until the foam turns less brown (that’s old dressing + grime)
- Rinse thoroughly
Edmunds also highlights wheels as a key focus because they collect stubborn grime, such as brake dust.
Step 3: Pre-rinse (or foam) to remove loose grit
Before touching paint, remove as much loose debris as possible.
Best practice:
- Rinse top to bottom
- If you use a pressure washer, keep it gentle and use a wide fan tip + safe distance (avoid blasting edges, trim, and old paint)
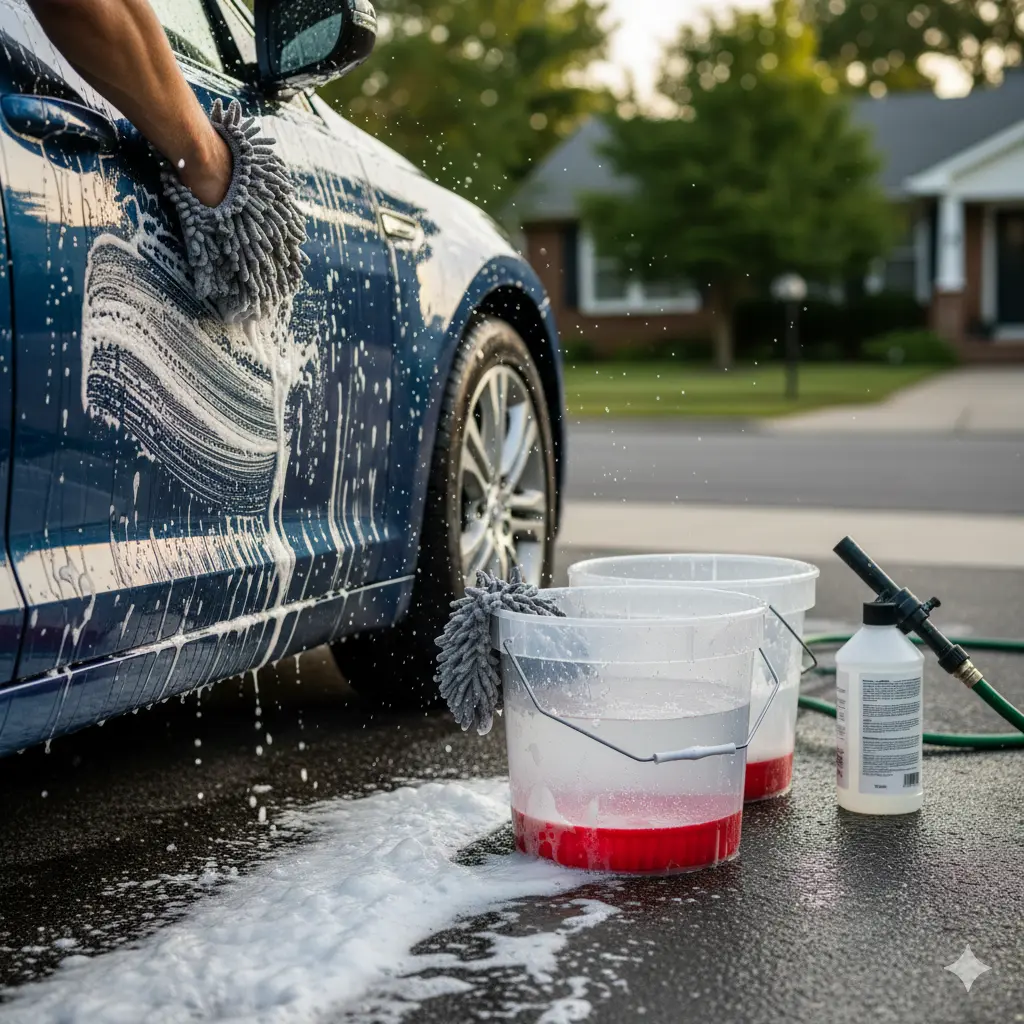
Step 4: The safest wash method (two buckets + grit guard)
Featured-snippet-ready explanation:
The two-bucket method uses one bucket for soapy wash water and another for rinsing your mitt. You wash a panel, rinse the mitt in the rinse bucket to release grit, then reload with clean suds—reducing swirl marks.
Meguiar explains that this separation reduces grit transfer (and swirls), and ValetPRO notes that grit guards help sediment settle below the guard, protecting paintwork.
Wash steps:
- Start at the roof and upper panels.
- Use straight lines (not aggressive circles)
- Rinse mitt often
- Leave the lower panels (rockers) for last.
Avoid sponges: they’re commonly linked to fine scratches/swirls; a microfiber mitt lifts and traps dirt better.
Step 5: Rinse and dry without water spots
Rinse
- Thoroughly rinse the soap off.
- A “sheeting rinse” can help reduce standing water (more runoff = easier drying).
Dry (this is where many people accidentally scratch)
- Use a clean microfiber drying towel.
- Pat or glide gently (don’t grind)
- Work top-down
Hard water can leave mineral spots when it evaporates—especially in the sun—so drying isn’t “optional finishing,” it’s paint care.
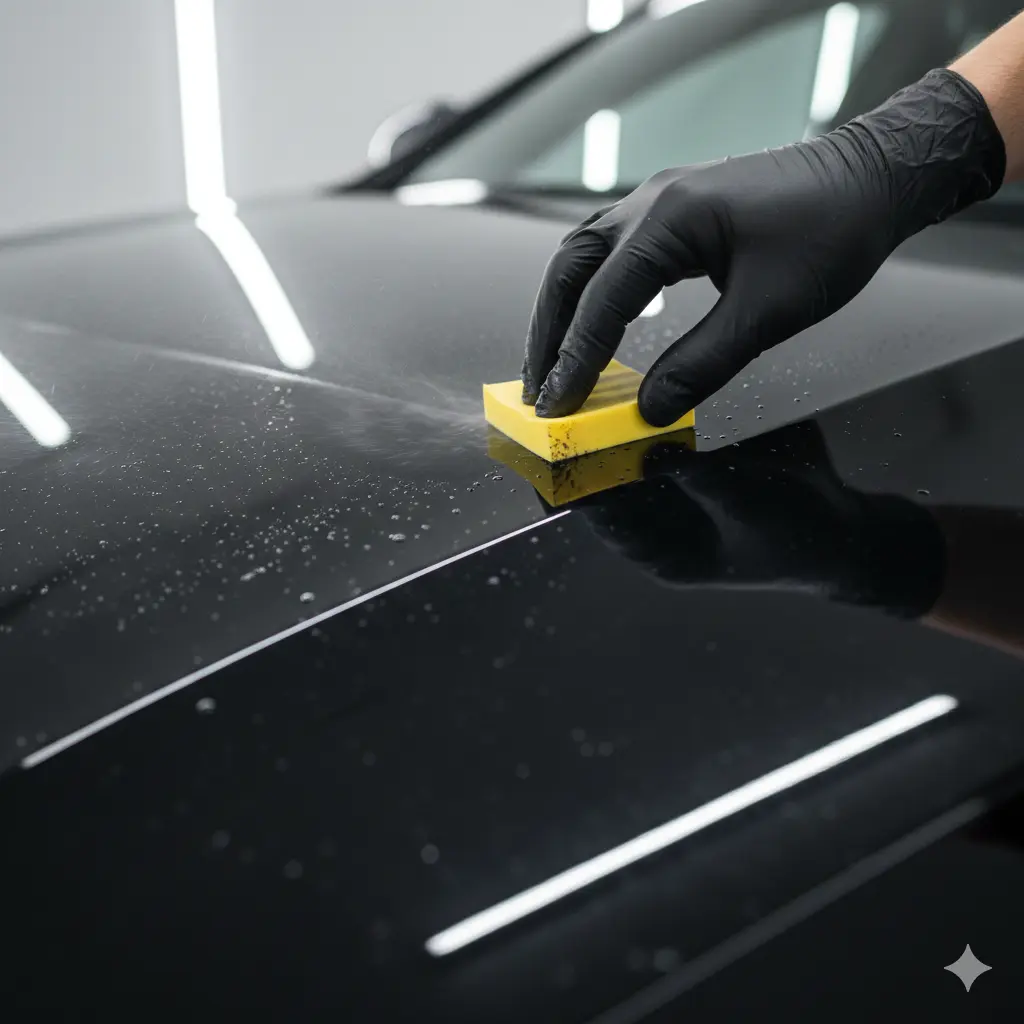
Step 6: Decontaminate paint (the “smooth as glass” step)
If your paint feels rough after washing, you likely have bonded contamination.
A) Chemical decon (optional, but effective)
- Iron remover for brake/rail dust
- Tar remover for road tar
B) Clay bar (use when needed)
What clay does: it mechanically shears off bonded contaminants and restores smoothness.
How to clay safely:
- Spray plenty of clay lube.
- Glide clay lightly—no pressure
- Knead the clay frequently to expose a clean surface.
- If you drop clay, discard it (seriously)
Step 7: Polish (optional) to reduce swirls and restore gloss
Polishing is how you improve:
- Light swirl marks
- Haze/oxidation
- Minor marring (including clay marring)
Simple rule: start mild. The goal is “as little correction as needed,” because the clear coat is limited.
If you’re new:
- Use a finishing polish by hand on small areas.
- Or use a dual-action polisher with a mild pad/polish combo.
Step 8: Protect the finish (wax vs sealant vs ceramic)
Protection is what makes detailing last.
Wax (classic, easy)
- Great gloss, good short-term protection
- Edmunds suggests waxing at least every ~3 months for protection, and notes many liquid/paste waxes can last ~3–4 months in favorable conditions (like garaging).
Paint sealant (polymer)
- Often longer-lasting than traditional wax.
- More “crisp” shine, strong water behavior
Ceramic coating (long-term)
- Strong durability and chemical resistance
- Best when applied over properly prepped paint
If you’re not ready for coatings, a solid sealant and a maintenance wash get you most of the benefit.
Step 9: Trim + glass finishing touches (small steps, big “new car” look)
Trim
- Clean first, then apply a trim protectant (avoid greasy sling)
Glass
- Clean inside and out with dedicated towels.
- Do a final pass on the inside glass last (it fogs from interior oils)
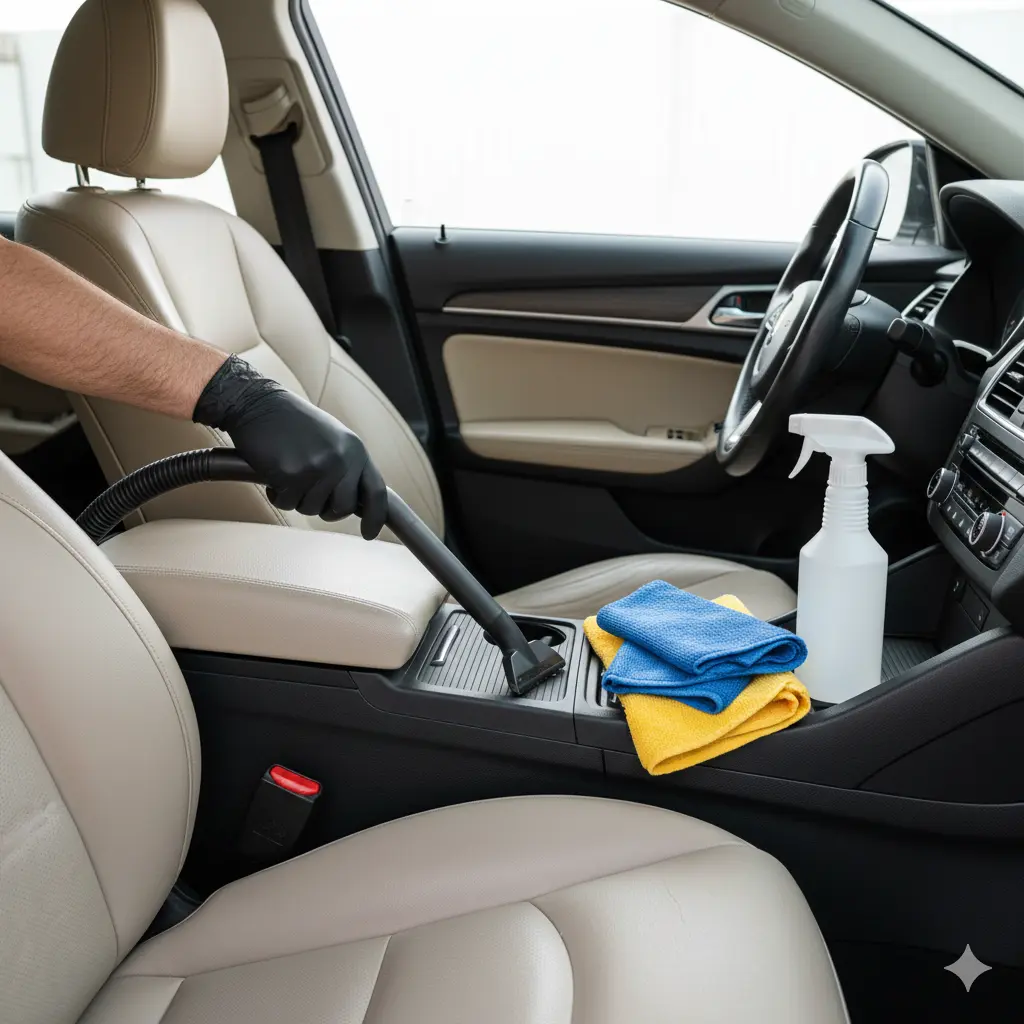
Interior detailing: a practical, pro-level workflow
Step 1: Clear out and dry vacuum first
- Remove trash and personal items.
- Pull the mats out
- Vacuum top-down: seats → crevices → carpets → mats
Step 2: Clean surfaces (dash, console, doors)
- Use a gentle interior cleaner.
- Use a soft brush for textured plastics.
- Don’t soak switches or electronics.
Step 3: Seats and carpets (fabric vs leather)
Fabric
- Spot treat stains
- Lightly agitate
- Extract or blot (avoid over-wetting)
Leather
- Use a leather-specific cleaner.
- Condition lightly (matte finish is usually the goal)
Edmunds warns that interiors should be completely dry before you drive off, because lingering moisture can lead to mold/mildew and odor—so use the least water possible and allow time for drying.
Step 4: Interior glass + odor control
- Glass: two towels (clean + buff)
- Odors: remove the source first (food, spills), then use an enzyme cleaner as needed
Engine bay detailing (optional—and a common place where people cause damage)
A light wipe-down can be fine, but avoid blasting modern engine bays with pressure washers. Edmunds quotes pros warning that forcing water into electrical clips and computer components can cause problems.
How often should you detail your car?
A simple, realistic schedule that fits most daily drivers:
- Wash: weekly or every 1–2 weeks (more often with salt, bugs, pollen)
- Decon (clay): about every 6 months, if the paint feels rough
- Wax/seal: roughly every 3 months (or boost with spray wax in between)
- Interior deep clean: seasonally, or as needed
Common detailing mistakes (and quick fixes)
- Using dish soap → strips wax; use car wash soap instead.
- Washing in direct sun → water spots, baked-on residue
- Using a sponge or dirty towel → swirls; switch to microfiber mitts/towels.
- Skipping drying → mineral spotting from hard water
- Claying without enough lube → marring; re-lube and go light.
- Over-wetting carpets → mildew risk; extract and dry thoroughly.
FAQs
What does it mean to detail a car?
Detailing a car means deep cleaning and reconditioning the interior and exterior, then protecting surfaces (paint, trim, upholstery) so the vehicle looks better and stays cleaner longer. If you are planning the job yourself or booking a service, it can also help to check how long does it take to detail a car so you know what time commitment to expect.
How long does it take to detail a car at home?
A first full DIY detail often takes most of a day, but you can split it: exterior one day, interior the next. For deep interior work, pros note you should plan enough time for thorough cleaning and drying.
How often should I wax my car?
A common rule is to spray waxes about every 3 months, with spray waxes as boosters in between.
Can I use dish soap to wash my car?
It’s not recommended because it strips waxes and can harm the finish. Use a dedicated automotive car wash soap instead.