


How to install car window tint means cleaning the vehicle glass, measuring and cutting tint film, shaping it to the window, applying it to the inside surface with installation solution, smoothing out water and air, trimming the edges, and allowing the film to cure. A clean workspace, legal film choice, and careful technique matter because dust, poor cutting, or rushed squeegee work can cause bubbles, peeling, and visibility issues.
This guide explains the process in a helpful way for drivers who want to understand car window tint installation before trying DIY or hiring professional car window tint installers.
Quick Answer: How Car Window Tint Is Installed
Car window tint is installed by preparing the glass, cutting the film to fit the window, wetting the inside glass with slip solution, placing the adhesive side of the film onto the glass, using a squeegee to remove water and air, trimming the edges, and letting the film cure. Curved rear windows usually need heat shrinking before installation. Old tint and adhesive must be removed before new film is applied.
Before You Start: Check Canadian Tint Rules First
Before installing tint, check your provincial rules. Canada does not have one single window tint law for every province. Tint limits can vary for front side windows, windshields, rear side windows, and rear glass.
For example, Quebec states that front side windows must let in at least 70% of light, and only a windshield strip up to 15 cm wide is allowed.
British Columbia regulations restrict materials that reduce light transmission on the windshield and windows, except for limited areas such as the top 75 mm of the windshield, side windows behind the driver, and rear glass when the vehicle has outside mirrors on both sides.
Because rules vary by province, always confirm local requirements before choosing a tint percentage.
Tools and Materials Needed for Car Window Tint Installation
For a proper installation, you need the right tools. Poor tools can lead to scratches, rough edges, contamination, and wasted film.
| Tool or Material | Purpose |
| Window tint film | Main tint material |
| Spray bottle | Applies slip solution |
| Slip solution | Helps position the film before it sticks |
| Squeegee | Pushes out water and air |
| Hard card | Helps smooth edges and corners |
| Utility knife or precision blade | Trims excess film |
| Heat gun | Shrinks film on curved glass |
| Scraper blade | Removes dirt, adhesive, and residue from glass |
| Microfibre cloth | Cleans without leaving lint |
| Lint-free towel | Reduces contamination |
| Masking tape | Helps separate liner from film |
| Clean glass cleaner | Removes oil and grime |
| Work light | Helps spot bubbles, dust, and rough edges |
Avoid ammonia-based cleaners on tinted windows because they can damage some film adhesives and reduce film life.
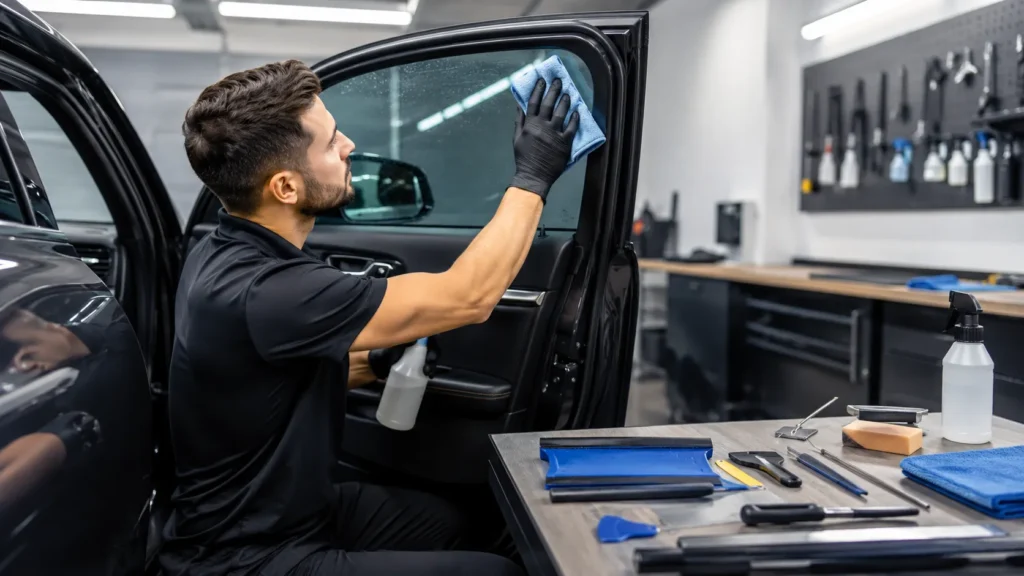
Should You Remove Old Tint First?
Yes, remove the old tint before installing the new film. Applying fresh tint over old tint usually creates poor results. The old layer may already have bubbles, fading, glue failure, scratches, or trapped dirt.
If your vehicle already has damaged film, read that how to remove car window tint.
After removing old film, adhesive often remains on the glass. That residue must be cleaned before the new film goes on. For deeper support, internally link here: How to Remove Adhesive From Tinted Windows.
How to Install Car Window Tint Step by Step
This section explains the general process. Professional shops may use computer-cut patterns, plotter systems, steamers, and advanced heat-shrinking methods, but the core process remains similar.
Step 1: Choose the Right Tint Film
Start by choosing a tint film that matches your goal and local law. Common choices include dyed, carbon, ceramic, and metallic film.
Dyed film is usually more affordable but may fade faster than premium films.
Carbon film offers a better appearance and improved heat control.
Ceramic film often provides stronger heat rejection without needing a very dark shade.
Metallic film can reduce heat but may interfere with some electronic signals depending on the product.
Do not choose tint only by darkness. A lighter ceramic film can sometimes perform better than a darker low-quality film.
Step 2: Prepare a Clean Workspace
Tint installation works best in a clean, shaded, wind-free area. Dust, pollen, pet hair, and road debris can become trapped under the film.
A garage or indoor bay is best, especially in Canada where wind, rain, snow, and cold temperatures can affect the process. Cold glass can also make film handling and curing slower.
Step 3: Clean the Window Thoroughly
Clean the inside and outside of the window. The inside surface matters most because tint film is applied on the inside of the glass.
Remove:
- Dust
- Grease
- Fingerprints
- Pet hair
- Old adhesive
- Smoke residue
- Water spots
- Dirt around seals and edges
Use a scraper carefully on compatible glass surfaces, but be cautious around rear defroster lines. Scratching or damaging defroster lines can lead to expensive repairs.
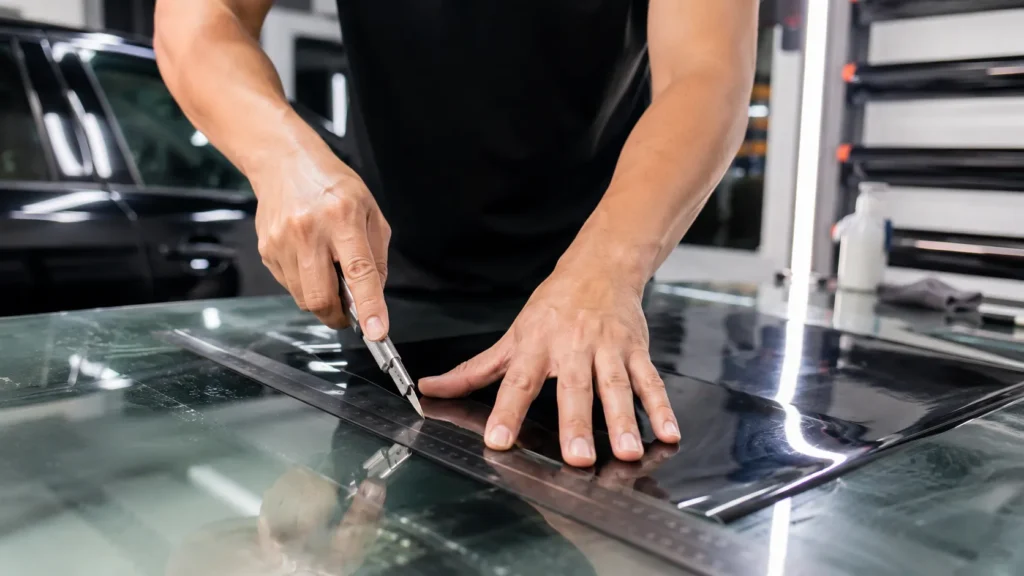
Step 4: Measure and Cut the Film
Place the tint film against the outside of the window to create a pattern. Cut the film slightly larger than the glass first. This extra space helps you trim it accurately after positioning.
Professional car window tint installers often use pre-cut templates or plotter-cut patterns. These can improve fit, reduce cutting errors, and lower the risk of scratching the glass.
If you are doing DIY installation, take your time. Bad cuts are one of the most common reasons a tint job looks uneven.
Step 5: Heat Shrink the Film on Curved Glass
Curved windows, especially rear windshields, often require heat shrinking. This process helps the film match the shape of the glass without creases or “fingers.”
Use a heat gun carefully and move it steadily. Too much heat can burn, crease, or distort the film. Too little heat can leave raised areas that will not sit flat.
Rear windows are one of the main reasons many drivers choose professional installation instead of DIY.
Step 6: Spray the Inside Glass With Slip Solution
Spray the inside glass evenly with slip solution. This solution allows the film to slide into place before the adhesive bonds.
Do not apply film to dry glass. Dry application can cause immediate sticking, creases, trapped air, and poor positioning.
Step 7: Remove the Film Liner
Tint film has a protective liner over the adhesive side. Use two small pieces of tape on opposite sides of the film corner to separate the liner gently.
As you peel the liner away, spray the adhesive side with solution. This helps prevent contamination and makes the film easier to position.
Avoid touching the adhesive with your fingers. Fingerprints and oils can show through the finished tint.
Step 8: Apply the Film to the Inside of the Window
Place the wet adhesive side against the wet inside glass. Slide the film carefully into position.
Make sure the top edge, side edges, and bottom edge align properly. For roll-up windows, the film must sit neatly below the top edge so it does not peel when the window moves.
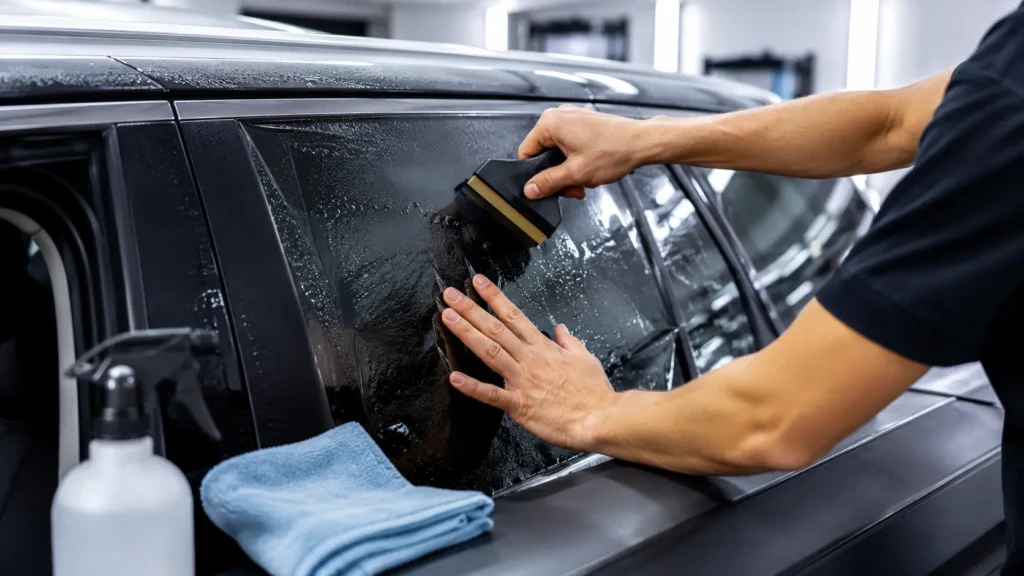
Step 9: Squeegee Out Water and Air
Use a squeegee to push water and air from the centre toward the edges. Work slowly and firmly. Keep the film surface wet while squeegeeing to avoid scratches.
Good squeegee technique helps prevent:
- Air bubbles
- Water pockets
- Creases
- Poor adhesion
- Edge lifting
- Cloudy patches
Small moisture spots can be normal right after installation, but dirt bubbles, wrinkles, and lifting edges are not good signs.
Step 10: Trim the Edges Carefully
Use a sharp blade to trim excess film. Keep your cuts smooth and controlled. Dull blades can tear film and create rough edges.
Be extra careful near:
- Rubber seals
- Rear defroster lines
- Quarter windows
- Frameless glass
- Curved corners
- Windshield edges
Professional installers know how much gap to leave so the film looks clean and does not peel.
Step 11: Heat and Seal the Edges
After the film is positioned and squeegeed, gently apply heat where needed to help the film settle. Do not overheat the film.
Then press the edges with a hard card wrapped in a soft cloth. This helps remove remaining moisture near the borders and improves adhesion.
Step 12: Let the Tint Cure
After installation, the tint needs time to cure. The vehicle may be ready to drive, but the film is not fully dry immediately.
For many Ottawa drivers, finding the right conditions is the hardest part of a DIY tint job. Between spring pollen, summer dust, and months of cold weather, creating a spotless, temperature-stable workspace at home isn’t always realistic, and even a single speck of debris can leave a visible bubble under the film. If you’d rather skip the trial and error, our Window Tinting Ottawa service handles the entire process in a controlled indoor bay, using precision-cut film, professional heat-shaping for curved glass, and careful application around sensitive areas like rear defroster lines. It’s a faster, cleaner way to get a flawless, long-lasting finish without the frustration of redoing a window.
To know about full timing guide, read that how long does it take to tint car windows?
DIY vs Professional Car Window Tint Installation
| Option | Best For | Main Advantage | Main Risk |
| DIY tint kit | Patient beginners with simple side windows | Lower upfront cost | Bubbles, poor cuts, dust, peeling |
| Pre-cut DIY kit | Drivers who want easier fitting | Less cutting required | Still needs careful cleaning and squeegee work |
| Professional installation | Most drivers, newer vehicles, curved glass | Cleaner finish, warranty, legal guidance | Higher cost |
| Mobile tint service | Convenience-focused drivers | Comes to your location | Weather and workspace may affect results |
DIY can work on simple windows, but professional installation is usually better for rear windshields, ceramic film, luxury vehicles, EVs, and vehicles with old tint.
Common Mistakes to Avoid
Installing Tint on Dirty Glass
Even tiny dust particles can show under the film. Clean the glass more than once and check edges carefully.
Cutting Film Too Small
Film that is cut too small leaves visible gaps. Start slightly oversized and trim carefully.
Forgetting to Heat Shrink Curved Glass
Curved windows need shaping. Skipping this step can cause fingers, creases, and lifting.
Touching the Adhesive
Fingerprints, oil, and dirt on the adhesive side can create permanent marks.
Rolling Windows Down Too Soon
Fresh tint needs time to bond. Rolling windows down early can peel the film from the top edge.
Using the Wrong Cleaner
Harsh cleaners and ammonia-based products can damage tint. Use tint-safe cleaner and a microfibre cloth.
Ignoring Local Tint Laws
Illegal tint can lead to safety issues, inspection problems, and possible enforcement. Always check provincial rules first.
Pros and Cons of Installing Car Window Tint
Pros
Car window tint can improve comfort, reduce glare, increase privacy, protect the vehicle interior, and improve appearance. Quality UV window film can also block more than 99% of UVA and UVB light when applied to vehicle, home, or office windows.
Cons
Tint installation requires skill, patience, and proper tools. Poor installation can cause bubbles, peeling, scratches, and visibility problems. Very dark tint may reduce night visibility and may not be legal on certain windows in some Canadian provinces.
How Much Does Car Window Tint Installation Cost?
The cost depends on film type, vehicle size, number of windows, old tint removal, and installer experience. Ceramic film usually costs more than basic dyed film, but it may offer better heat rejection and durability.
To know about pricing guide read that how much does it cost to tint car windows.
When Should You Hire Professional Car Window Tint Installers?
Hiring a professional is usually the better choice when:
- You want ceramic or premium film.
- Your vehicle has curved rear glass.
- Your car has old tint that needs removal.
- You want a warranty.
- You are unsure about legal tint percentages.
- You drive a luxury vehicle or EV.
- You want a clean, long-lasting finish.
- You do not have a dust-free workspace.
Professional car window tint installers can also explain local tint rules, film options, curing time, and aftercare.
Practical Examples
Example 1: Two Front Windows
A driver wants the two front windows tinted for glare control. This is one of the simpler jobs, but the installer still needs to confirm legal VLT, clean the glass, cut the film, apply it evenly, and allow curing time.
Example 2: Full Sedan Tint
A sedan owner wants all side windows and the rear windshield tinted. The rear windshield may need heat shrinking, and the side windows need careful edge trimming so the film does not peel when the windows move.
Example 3: SUV With Rear Cargo Glass
An SUV has more glass than a sedan, including quarter windows and rear cargo-area windows. Installation takes more time because each glass panel needs its own pattern and finish.
Example 4: Old Tint Replacement
A used vehicle has a bubbling purple tint. The old film and glue must be removed first. This adds time but improves the final result.
Example 5: Winter Installation in Canada
A driver installs tint during winter. The work can be done indoors, but curing may take longer because cold temperatures slow moisture evaporation.
Maintenance Tips After Tint Installation
After car window tint installation, proper care helps the film last longer.
- Keep windows rolled up until the installer says they are safe.
- Avoid cleaning the inside glass for the first few days.
- Use ammonia-free cleaner.
- Wipe with a soft microfibre cloth.
- Avoid rough towels, blades, and abrasive pads.
- Do not pick at edges.
- Be careful with seatbelts near tinted windows.
- Keep the warranty and invoice.
If bubbles or haze remain after the normal curing period, contact the installer.
Conclusion
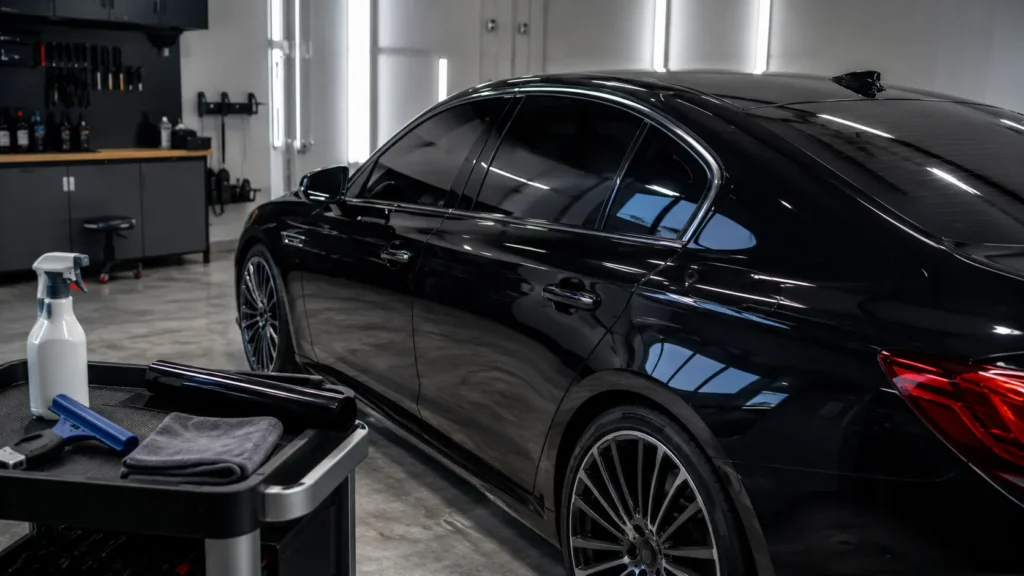
How to install car window tint comes down to careful preparation, accurate cutting, clean glass, proper wet application, patient squeegee work, neat trimming, and enough curing time. The process may look simple, but small mistakes can cause bubbles, peeling, scratches, or poor visibility.
For simple side windows, a careful DIY installer may get acceptable results. For full vehicles, rear windshields, ceramic tint, old tint removal, or legal tint guidance, professional installation is usually the safer choice. Canadian drivers should also confirm provincial tint rules before choosing a film shade, especially for windshields and front side windows.
FAQs About How to Install Car Window Tint
Can I install car window tint myself?
Yes, you can install car window tint yourself, but it takes patience, clean tools, and a dust-free workspace. DIY is easier on flat side windows and harder on curved rear glass.
Is car window tint installed inside or outside?
The car window tint is installed on the inside of the glass. The outside is often used for measuring, cutting, and heat shrinking the film before applying it inside.
Do I need to remove the old tint before installing a new tint?
Yes. Old tint should be removed first because bubbles, glue, fading, and dirt can affect the new film.
What solution do you use to install window tint?
Installers usually use a slip solution made for window film. Some DIY users use water with a small amount of baby shampoo, but professional installation solutions are more reliable.
How do you install tint without bubbles?
Clean the glass carefully, keep the film and glass wet during positioning, avoid touching the adhesive, and use a squeegee from the centre outward to remove water and air.
Why does window tint peel after installation?
Tint can peel because of dirty glass, poor edge trimming, low-quality film, old adhesive residue, or rolling windows down before the film cures.
How long does tint take to cure?
Tint often needs several days to cure. Cold, humid, or cloudy weather can extend curing time, especially in Canadian winter conditions.
Can I roll my windows down after installing tint?
Do not roll windows down immediately. Wait until the film has cured enough, usually several days, or follow the installer’s specific recommendation.
Is ceramic tint harder to install?
Ceramic tint is not always harder, but it is a premium film and should be handled carefully. Many drivers choose professional installation for ceramic film.
What is the hardest window to tint?
The rear windshield is often the hardest because it is curved and may have defroster lines. It usually requires heat shrinking and careful squeegee work.
What happens if I choose an illegal tint?
Illegal tint can create visibility issues, inspection problems, and enforcement risk. Check your provincial rules before installing film.
Should I hire professional car window tint installers?
You should consider hiring professionals if you want a cleaner finish, legal guidance, warranty support, or installation on curved rear glass, luxury vehicles, EVs, or premium ceramic film.